What are tags?
Tags are like labels that you can attach to your content to better organize them and make searches easier. With tags you can:
- create specific reports by topic;
- apply search filters;
- group your contacts based on common interests, such as all those who have shown interest in "Travel" by clicking on a link.
You can link a tag to a single element or an entire communication.
How to create a tag
You can create new tags in two ways.
- From the tag management page, where you can add them later to your content.
- Directly while you are creating or editing an element.
Creating tags from the library
To add new tags from the library:
- go to Journey Lab >> Libraries >> Tags;
- click on New Tag at the top right;
- add the tags you want (one per line) in the Tag List area;
- press Create Tag when you are finished.
Contextual creation of tags
You can also add tags directly while creating your content:
- while editing the object, you will find the "Tag List" field;
- select a tag from the existing list or write a new one.
Use tags
Associating tags with communication
You can associate tags with an entire communication for statistical or management purposes:
- from the message homepage, click on "Add Tag";
- choose an existing tag or create a new one from the dropdown menu;
- press Save Communication when you are done.
Associating a tag with a clickable element
To associate a tag with a clickable element:
- access the object's properties;
- find the Tag List field and click inside it;
- the space to insert the first tag will be highlighted:
- click inside to view the list of available tags;
- select one from the list associated with the object, or create a new one;
- to remove it, click on the right side of each one.
Discover your contact's interests from their contact card
On the contact profile, the new tag cloud will be visible, which summarizes the number of interactions in the font size (larger = more interactions) and the time since the interaction in the text opacity (more recent = more visible; less recent = more opaque).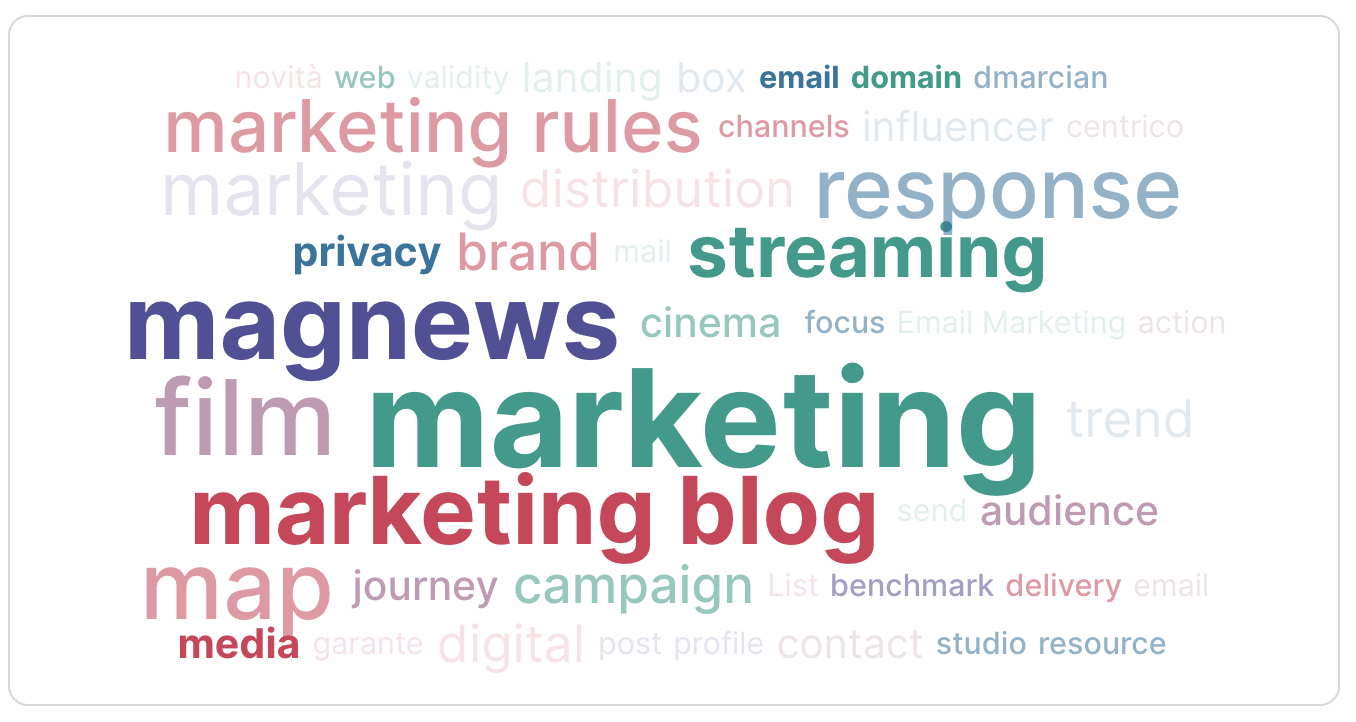 On the page dedicated to the contact's tags, there are now 3 tables that allow you to know your contact's interests:
- a summary of interactions from communication and from the web, with indication of dates and interaction channel;
- a detailed table for clicks and opens from communications and content;
- a final detailed table of visits to web tags.
Create an audience using the tag
You can create sending targets based on tags.
- Go to Profile Studio > Audience Management > Dynamics.
- Create a new audience and select the desired conditions, such as users who have interacted with a link related to beach vacations in the last 30 days.
- Click the OK button
- Click the Create Audience button
Visibility conditions based on tags
You can customize content display based on the contact's interests.
- Enter the "Journey Lab" area and select your communication.
- Click on Design and add the desired visibility condition.
- For example, you can make an article visible only to contacts who have recently clicked on a specific tag.
Now, next to the sea article, the eye icon is green to indicate that the article is visible only to contacts who meet a certain condition.
Remember that this customization makes your contacts' experience more relevant and engaging!
Remove tags that are no longer used
Tags can be easily added by the communication designer. If you have added tags by mistake or there are tags that are no longer used, you can delete them directly from the list.
- Filter the tags
- Or select the tags you want to delete
- Click on the Actions button at the top right above the list and select Delete
Before deleting, Magnews checks that the tags are not used in dynamic audiences, to prevent the audience from no longer functioning correctly.